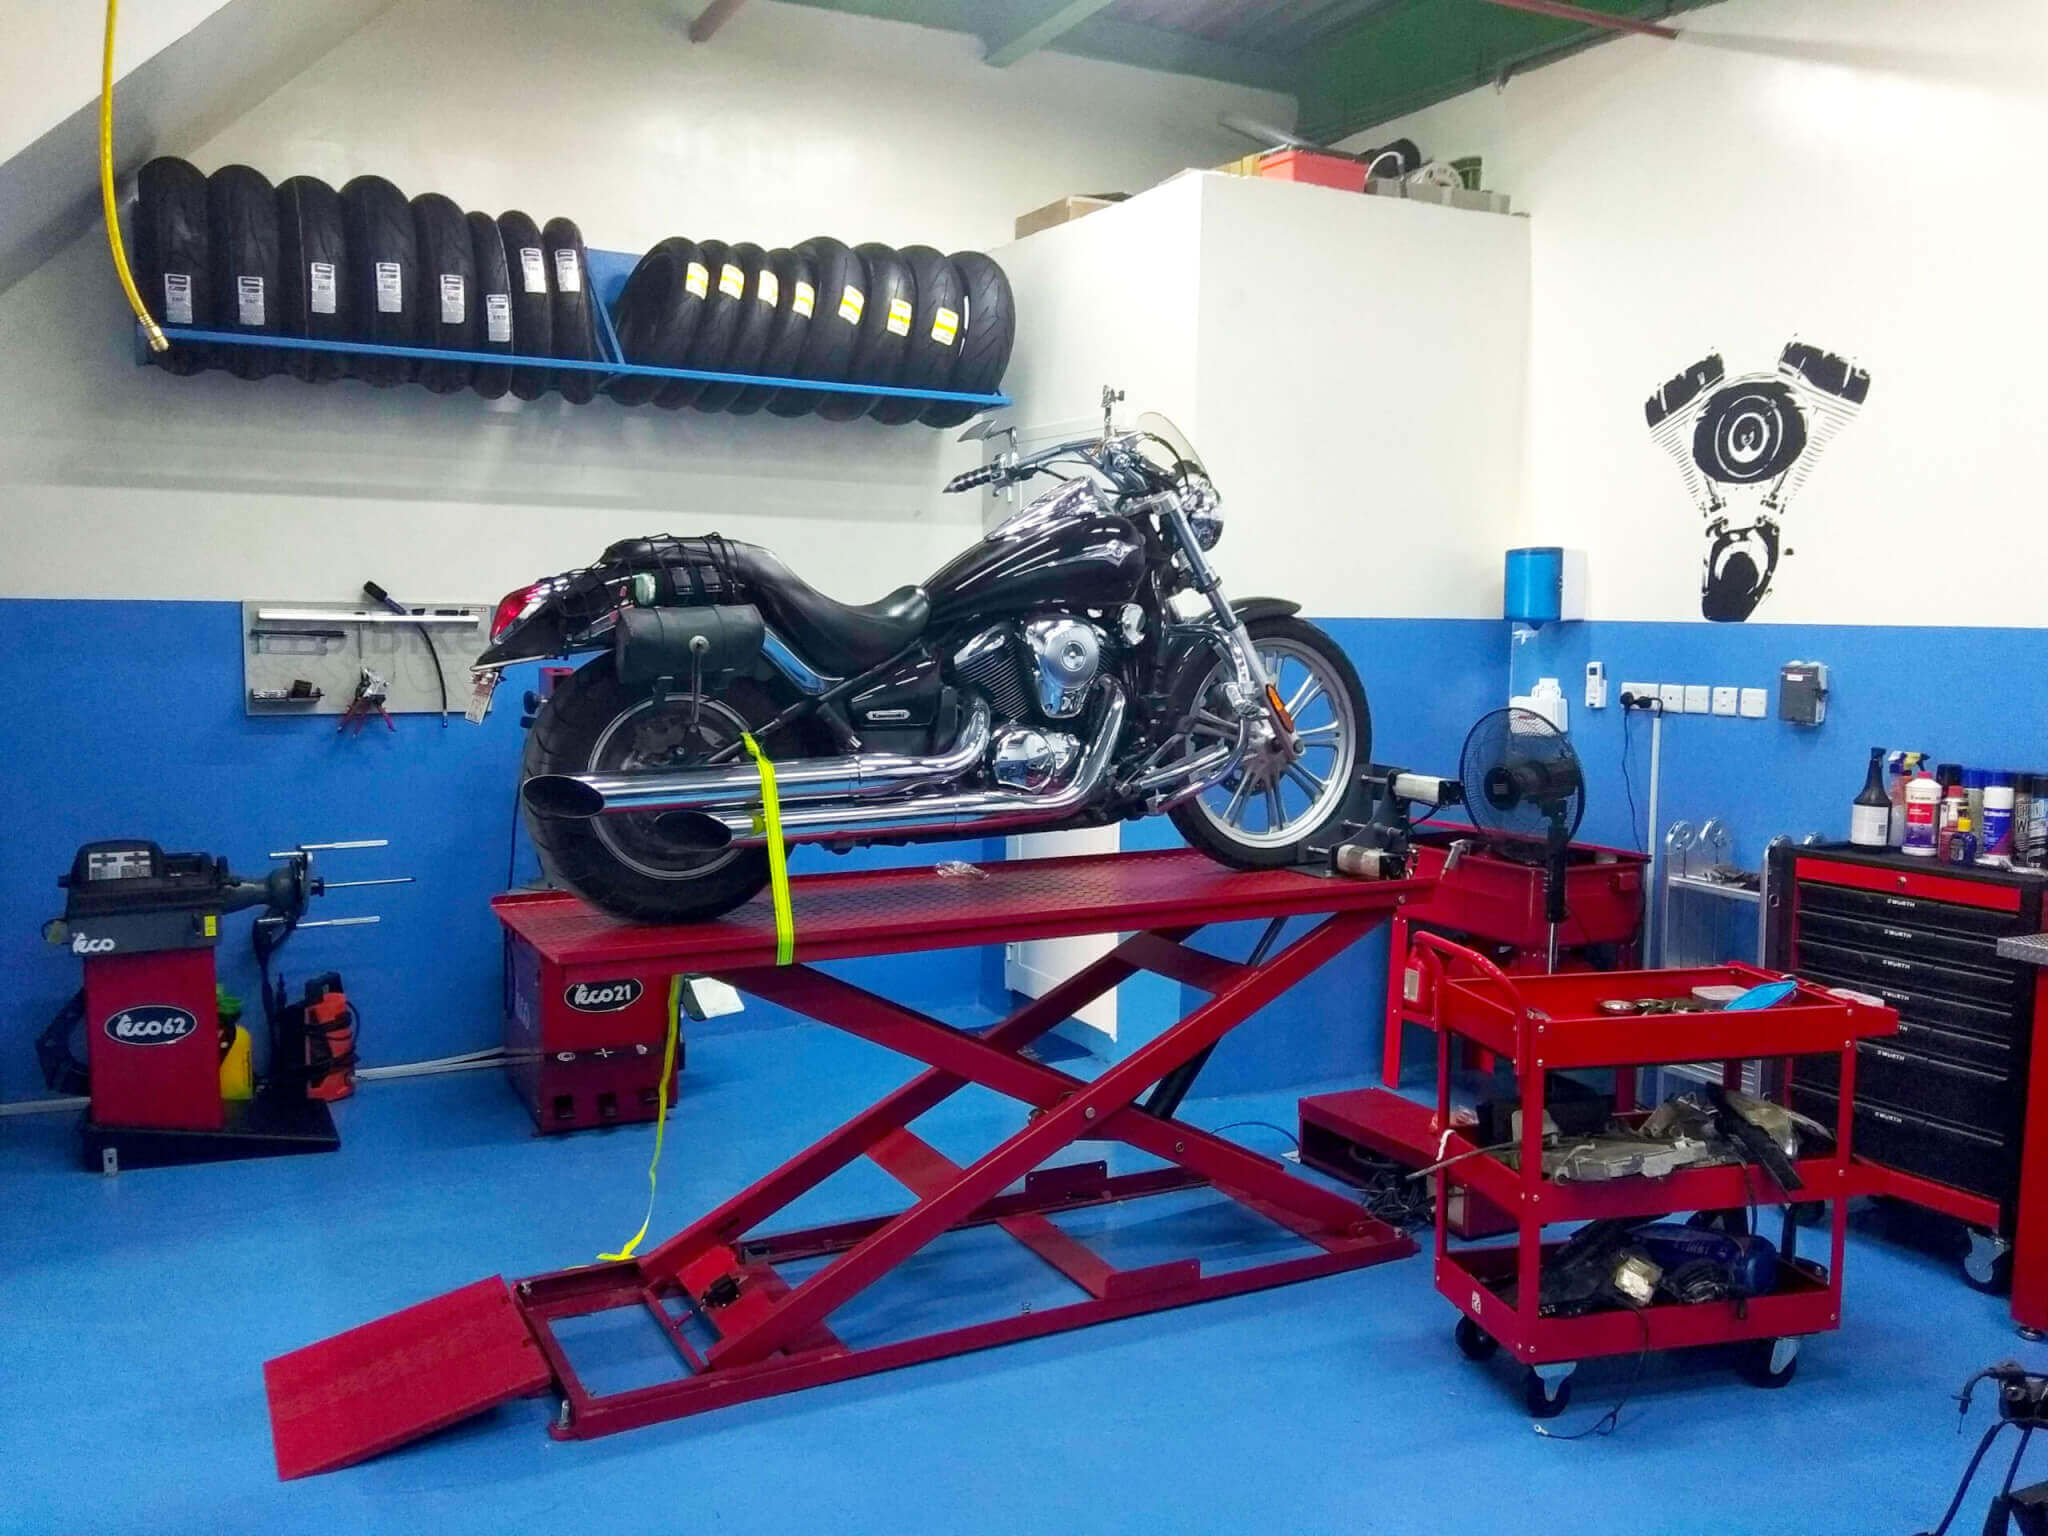
Before you put the kickstand away for the season, go through our maintenance checklist and use it as a guide to give your bike a thorough check.
It doesn’t take long, and the peace of mind you will have from knowing you inspected your ride from head to toe will more than pay for itself. An hour spent in your garage beats an hour spent on the roadside troubleshooting or waiting for AMA service.
If you follow the motorcycle maintenance schedule in your service manual (the most important tool in your garage) and did your homework before storing your bike for the winter, you will breeze through this list. So roll up your sleeves and start working on all that is needed to make your motorcycle road-ready for the season.
1. Visual inspection
When was the last time you went over every element of your bike? Everything on a vehicle wears down gradually, making even worn-out components impossible to see in regular use. Simply shifting your attitude into “see anything weird” mode might expose flaws that demand care before they become serious, ride-stopping difficulties.
Look for any leaks. Oil and dirt streaks down the fork indicate a failing fork seal. Drips from beneath the bike must be inspected. Is that liquid coolant? Oil? Fuel? Give it a smell, then trace it back to its source. If the leak has been there for some time, you may need to clean up your motorcycle’s nether regions to pinpoint the source.
Look for signs of wear or interference at pivot points and moving components (kickstand pivots, swing-arm, and suspension linkages are usually neglected). Hit any zerk fittings with your grease gun until clean grease comes out the other end of the cavity, and make a note of any bushings or bearings that need to be investigated further or replaced.
Turn on the light. Check your lights and horn, and make sure your registration and insurance are up to date. Is your battery dying or dead? You will need to re-energize the system before checking your signals.
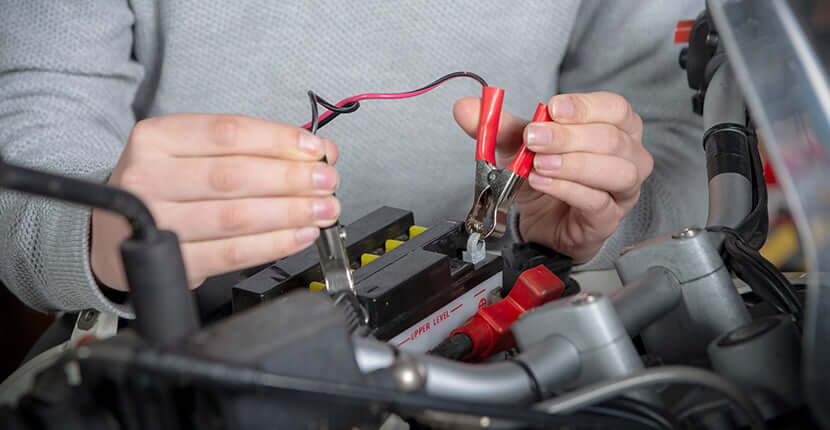
2. Power source
If you have been using a maintenance charger, your battery should be fully charged. If not, connect one immediately. If the battery charges completely, that’s a positive indication, but it doesn’t mean it won’t die halfway through your first big ride of the season.
A multi-meter can provide a good picture of your battery’s overall health (you want to see more than 12.5 V DC at the terminals with the key off) but the choice of champions is a battery tester that can test cranking amps against the number you punch in from the CCA rating stickered on the battery. Aside from testing the terminals for standing voltage, you may do a few more checks with a multi-meter.
Even if you don’t have any fancy meters, you should be able to tell whether your battery is starting to fail by how easily it turns your engine on, and its age. The production date is also printed on the sticker, and if yours is approaching five years old, you should consider replacing it. It’s preferable to replace a battery on your own terms rather than relying on a shop or dealership and perhaps adding the expense of a tow to the repair fee.
To avoid corrosion, clean your terminals and coat them with dielectric grease. This is also an excellent opportunity to open your fuse box and examine your fuses. Check your spares and slip a couple of extras in if there’s space. A blown fuse is one of the most vexing reasons for having to have a bike towed.
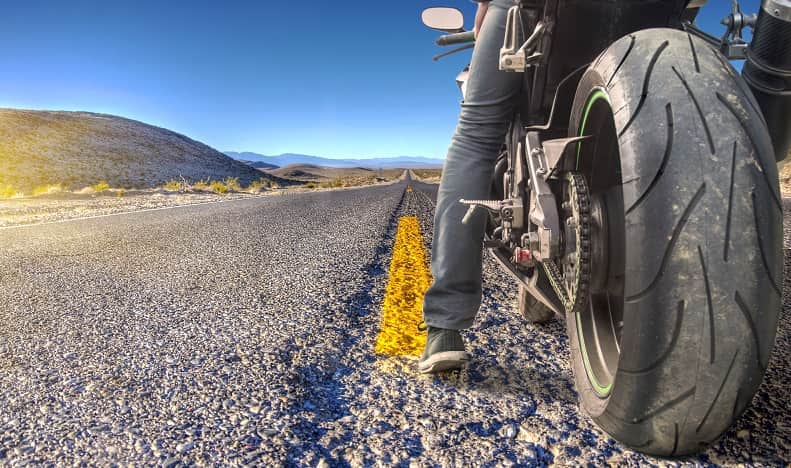
3. Wheels and tires
It is impossible to overestimate the significance of tire condition. We only get 2, and the degree of faith necessary to lean into the first bend is enormous. While age must be taken into account, it is not the only — and certainly not the most significant — element in establishing a tire’s road-worthiness.
Motorcycle tires have a longer life expectancy than you may assume, despite the widespread fear of compulsive date-code checks. Tire makers set a “sell by” date of five years, anticipating years of use after that. So, if you buy a new tire and discover it was manufactured a year or two ago, keep in mind that it still has its entire life ahead of it. On a frequently ridden motorcycle, you are unlikely to see a set expire of old age. Still, keep the production date in mind when you inspect the rubber for dry rot, fractures, or excessive hardness from oxidation.
The most respectable death of a motorbike tire is also its most common: wear. If your tire features wear indications, it should be easy to see when the wear bar (placed in a sipe or groove) goes flush with the tire’s surface. If you are unsure, examine the remaining tread depth in the most worn section of the tire (almost always the center). If you require new tires, remember to include replacement valve stems (or inner tubes) and balancing weights (if you plan to mount and balance yourself). Wheel weights sometimes slip off; make sure yours are still in place. You should also inspect your wheel bearings, but first, get your wheels off the ground.
If you don’t already have a raise, jack, or Pit Bull-style front and rear stands, a Bursig lift would be a good option. You can acquire an all-in-one, space-saving gadget that can not only raise your entire motorbike off the garage floor but also dolly it about safely by yourself for roughly the same price as front and rear stands or a hydraulic motorcycle jack.
You are ready to start once you’ve raised at least the front end of your motorcycle. It is possible to identify worn wheel bearings without disassembling the vehicle. To begin, firmly grasp each wheel on either side and shake to check for excessive play (a giveaway that your bearings are toast). If everything seems snug, spin each wheel to test rolling resistance. Do not expect the wheel to spin all day with the brake assembly still in place — pads drag lightly even when not engaged, and the chain, belt, or shaft final drive adds additional drag at the rear wheel — but you should be able to tell by hand whether the wheel rolls smoothly or feels crunchy on its bearings.
4. Final Drive
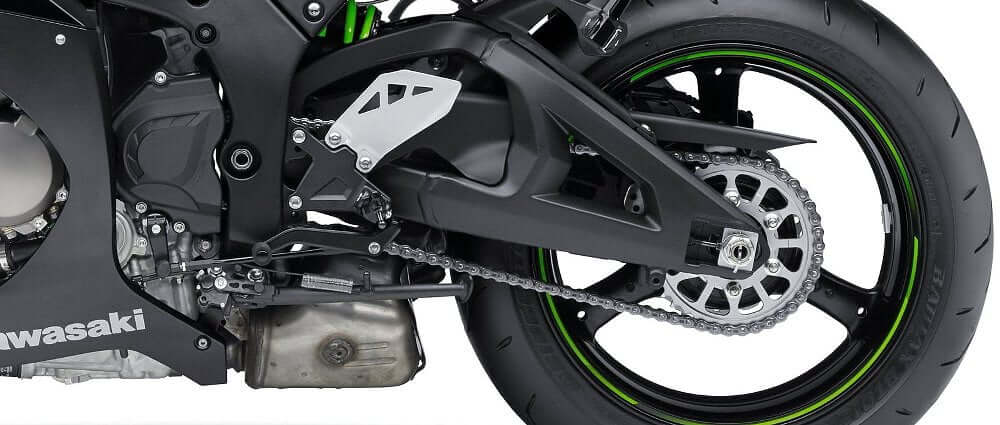
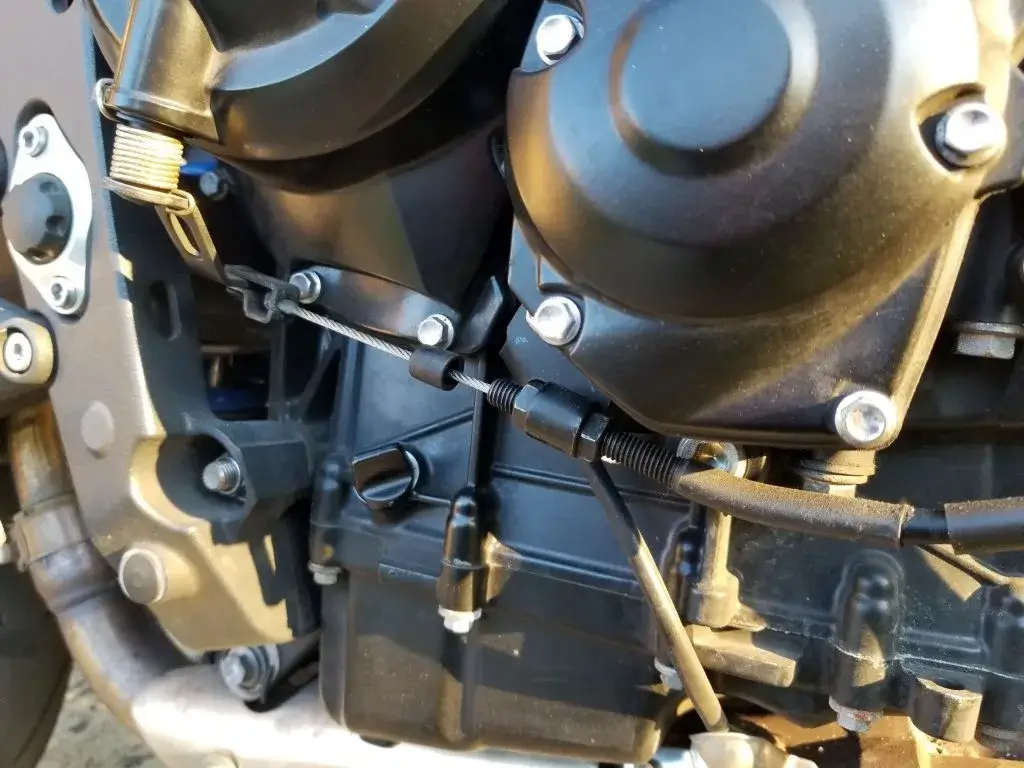
Keep an eye on your drive chain or belt as you move the back wheel. (If you have a shaft and don’t know how old the gear oil is, change it immediately!). First, inspect for any binding, seized links, or excessive chain and sprocket wear that would suggest it’s time to replace the chain and sprocket. If everything appears to be in order, clean your chain with a solvent and brush before lubricating it. Check chain alignment using an alignment tool (do not rely solely on the hatch markings on your axle blocks or swing-arm if you have them) and tension with a gauge. Your handbook will include specifications for tension and wear, which you may use to determine if the chain needs to be changed.
Look for cracks, wear, or stray cords if you have a belt drive. Replace the belt if it seems glossy or if any teeth are chunked out. Drive belts survive a long time, but you should replace them before they’re hanging by a thread. A failing belt will not only leave you stuck but also have a history of breaking under acceleration (think merging onto a highway in front of tractor-trailers).
If your belt passes the visual examination, consult your service manual for specifications before checking belt tension with a gauge. It is well worth the money (and is much more civilized than hanging jogging weights off the belt with wire or zip ties and measuring deflection). After making any required adjustments, rotate the entire shooting match a few times and measure once again.
5. Disc brakes
While your bike is still in the air, you can inspect your brake pads with the tires on the ground, but it’s a bit simpler. You may also examine your rotors for warping by turning your wheels. You should also feel the rotor’s surface for any scoring and visually examine it for glazing. Don’t be alarmed if you notice some mild surface rust. If your bike has been resting for a while, this is entirely natural and will go away as soon as you use the brakes, but I prefer to clean them with brake cleaner to make me feel better.
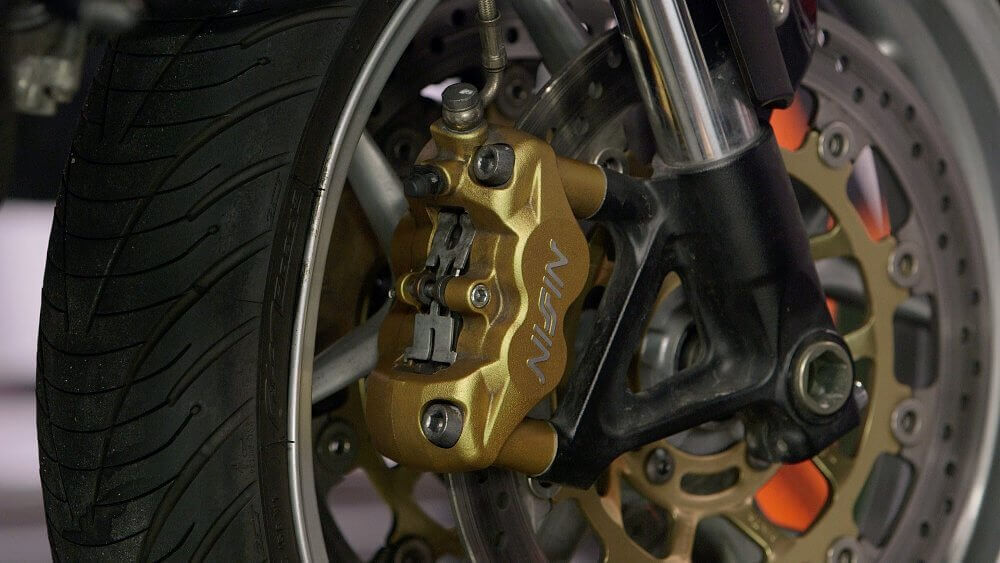
Next, take note of how much meat remains on the pads and check if they are wearing evenly.
To ensure that they are still safe to run, compare the remaining depth of the pad material to the specification in your service manual. Trying to use up every last bit of a brake pad is a short-sighted tactic since you risk damaging your rotors or failing to stop if you wear down to the backing plate.
Examine your brake lines for evidence of wear or age as well. Rubber brake lines do not survive very long, so even if your bike is just five or ten years old, it may be time to retire them. New stainless steel lines will significantly enhance brake feel and control. Lines are more usually overlooked than brake fluid. Check your service manual for a replacement interval. However, for those that ride hard (track days?) or follow aggressive maintenance plans, change it every other season or if the fluid becomes hot.
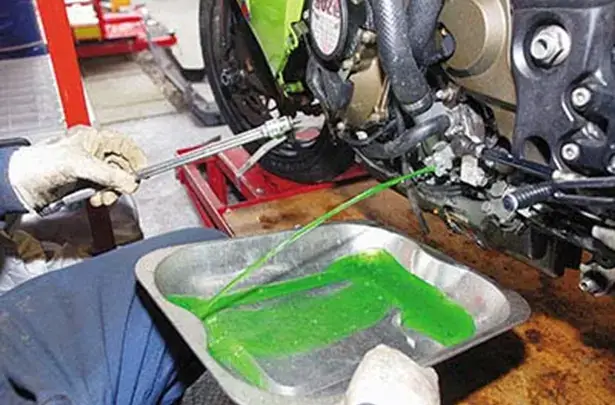
6. Fluids
Brake fluid isn’t the only frequently neglected fluid for refreshing. What is the age of your coolant? Although your machine’s maintenance periods may vary, the fresh coolant should be added every other season (check the manual). Thorough water cleanses, or even a simple drain and fill, will go a long way toward avoiding corrosion within your cooling system. (Installing a new radiator cap at the same time is an inexpensive insurance policy.)
I’m looking at new motor oil and filter, main fluid, and trans fluid before my first trip of the year. Even if you are not quite at your mileage interval, it never hurts to start early so you are ready for the season. When it comes to time, you should consider the age of the oil as well as the mileage. If you have several motorcycles or just don’t put a lot of miles on your machine, changing the oil at least once a season ensures that it has been done and that you don’t have old, tainted oil in your cases. Lower mileage frequently correlates to a lot of short rides, which implies a lot of heat cycling to attract moisture condensation, which is what truly tears down oil. Consider your style of riding when selecting whether to replace your oil.
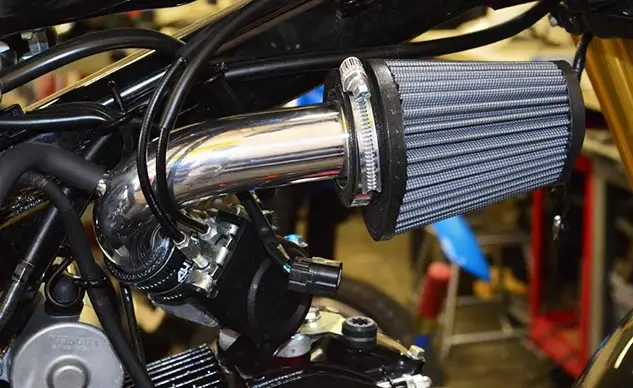
7. Filters
Always use a fresh oil filter, and keep track of fuel and air filter recharge or replacement. My bike requires air filter service every 5,000 miles and a fuel filter every 25,000 miles. Check your workshop manual or a parts diagram; there might be another gasoline screen in the petcock or fuel pump pickup that has to be replaced. Check if your exhaust has fiberglass packing (cotton candy pouring out of your exhaust tip is a dead giveaway if your packing is burnt). This is not an off-road occurrence, albeit dirt bike intervals are often significantly shorter (a matter of hours, not miles, especially for two-strokes, where oil is a factor on top of heat). When you recharge or replace the air filter, repack the muffler. What goes in must necessarily come out, right?
8. Controls
Check and adjust your clutch and throttle for smooth operation. With cable lube and this handy tool, ease your clutch and throttle cables, then adjust your push and pull cables until the throttle begins to open and returns to idle position on its own. If your strong clutch pull or sticky throttle cannot be lubricated or adjusted, search for interference on the lever or throttle tube itself, as well as binding caused by incorrect cable routing. Replace the cables if they are worn.
Sit on the bike and check if your mirrors have come free. Check for cable and electrical interference or strain, as well as notchiness in the steering head bearings, by turning the handlebar lock to lock. Check that your shifter and brake pedal are indexed correctly. You may have become accustomed to a less-than-ideal position last season; modify now before you develop that muscle memory again. Regardless of whether you alter anything, be sure the brake and shifter are tight (thread locker is my old friend). Consider yourself fortunate if you have never had a shift lever come free and destroy the spline shaft (it is a very invasive, labor-intensive job that costs a lot).
9. Last check
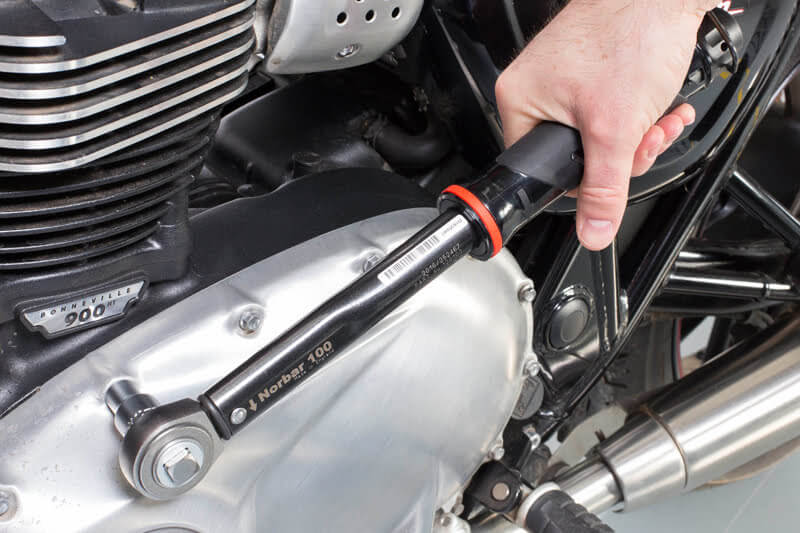
Torque all of your key fasteners, including handlebar and triple clamps, axle bolts and adjusters, and motor mounts. Check your oil and coolant levels again. Check that you tightened anything back down that you disturbed during your examination. Take out a tire gauge and check the pressure. If you charged your battery while inspecting the rest of the bike, try your lights and horn immediately. Finally, start it up and you are set for a test drive to the gas station for some new gasoline! Remember to let your engine warm up before accelerating, and that your tires may still be cold and sticky.
That’s all there is to it. Now you can sit back and enjoy the ride!