All motorcycles, including the Suzuki GSXR, require periodic maintenance to function properly and to avoid engine wear at high RPMs.
Oil changes are one of the most fundamental service routines for a motorcycle, and they are an important maintenance work that you can do fast yourself to ensure that your Suzuki motorbike runs at its peak.
To learn how to change the oil on a GSXR 1300, follow the step-by-step instructions below and watch the video at the conclusion of the article.
Tools and Parts Needed – Suzuki GSX-R 1300 Oil Change
Tools
- 3/8th ratchet
- Torque wrench
- 17mm socket
- 65mm oil filter wrench
- Suzuki GSX-R 1300 1st gen. service manual
Parts
Oil Change on a Suzuki GSXR 1300
Step 1.
Warm up the oil by running the engine for a minute or two. It thins it out and makes draining simpler.
Step 2.
Remove the oil fill lid to allow the engine to breathe while draining the oil, making it easier to drain the oil.

Step 3.
Remove the seven 4mm Allen screws and the bottom bolt holding the right side fairing in place. Then, remove the fairing to have access to the oil filter and drain bolt.
PRO TIP: Check out the the GSXR 1300R fairing diagram to see where the Allens are located.


Step 4.
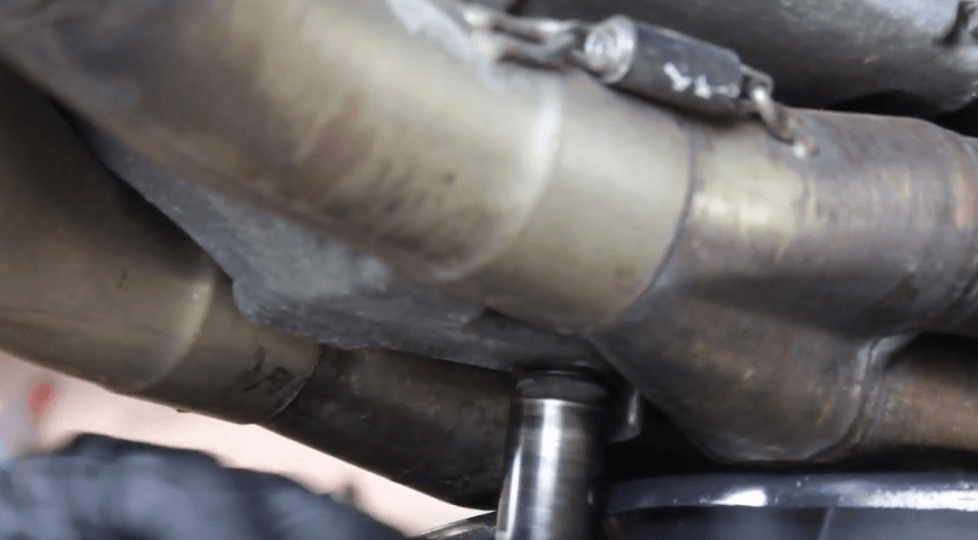
Remove the drain bolt with a 17mm socket and place a drain pan below the engine.
NOTE: Keep track of the crush washer on the bolt, and replace it if it’s damaged or missing.
Step 5.
After the oil has completed draining, replace the drain bolt and its crush washer, and twist the drain bolt to 16.5 foot-pounds.
Step 6.
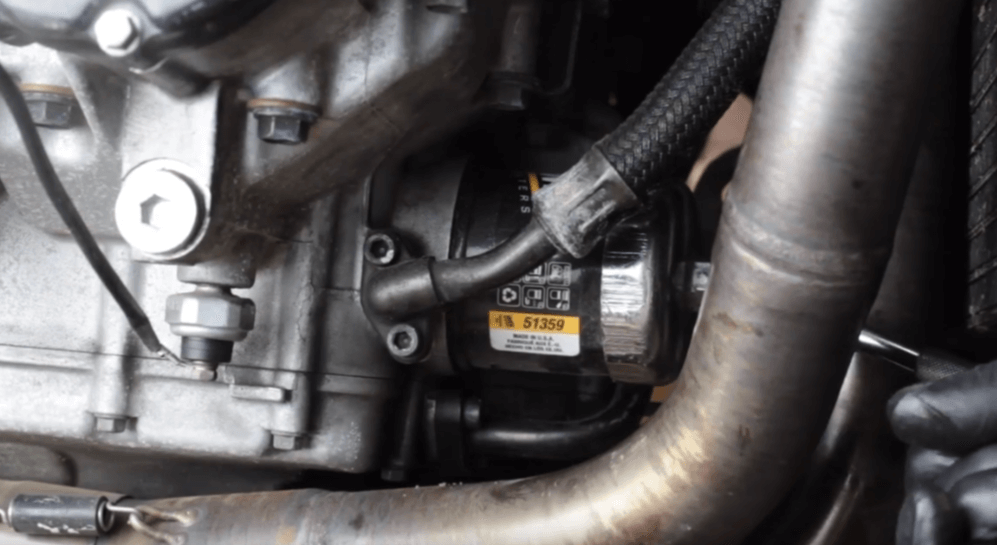
Use a 65mm oil filter wrench to remove the oil filter, which is located on the front of the engine, behind the exhaust.
Step 7.
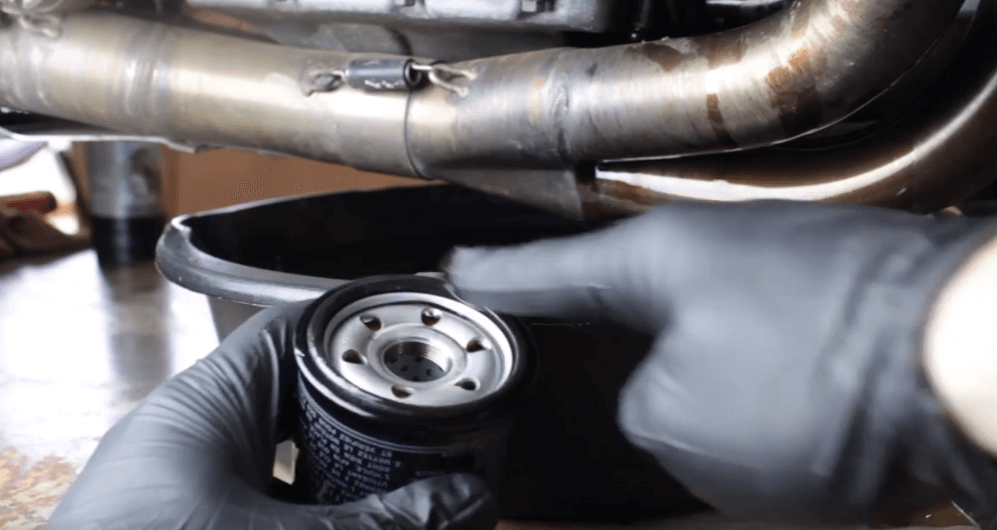
To prepare the new oil filter for installation, rub a little oil over the gasket at the top of the filter with your finger. This makes removal easier the following time.
Step 8.
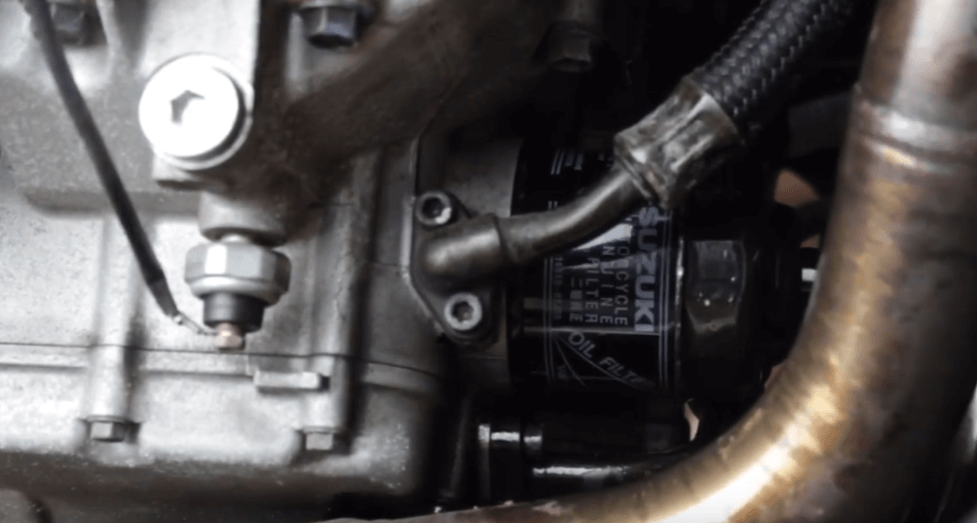
Replace the oil filter and torque it to 14.5 foot-pounds.
Step 9.
Spray a little amount of contact cleaner on the exhaust to remove any extra oil that has been spilt on it.
NOTE: If oil has leaked, do not miss this step since any excess oil on the exhaust will cause smoke.
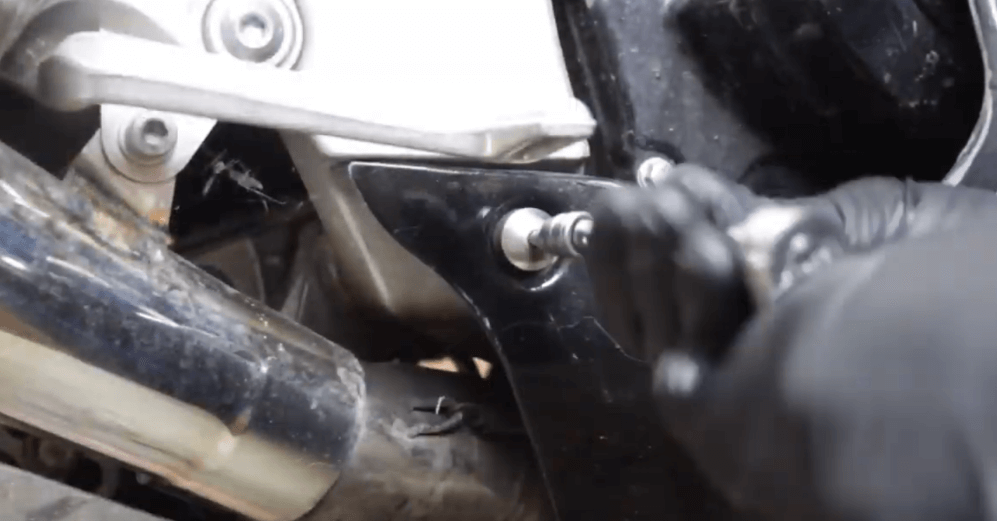
Step 10.
Replace the fairing in the same manner that you removed it.
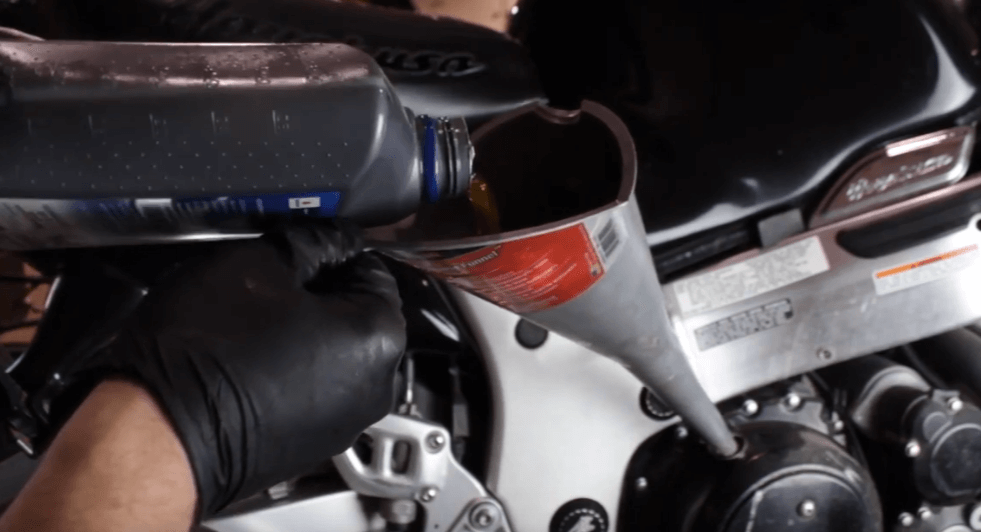
Step 11.
Fill the unit with motorcycle engine oil.
NOTE: 3.3 quarts of 10W40 motorcycle oil is recommended by Suzuki. Because automobile oil will cause your wet clutch system to slide, only use motorcycle oil.

Step 12.
Replace the fill cap, then restart the engine for a few minutes to circulate the oil. Next, turn off the engine and inspect the sight glass. finish the
NOTE: Replace the fill cap, then restart the engine for a few minutes to circulate the oil. Next, turn off the engine and inspect the sight glass. finish the

The steps for changing the oil on a Suzuki motorbike are the same or very similar.
Source: Partzilla
Be well and ride safe!
